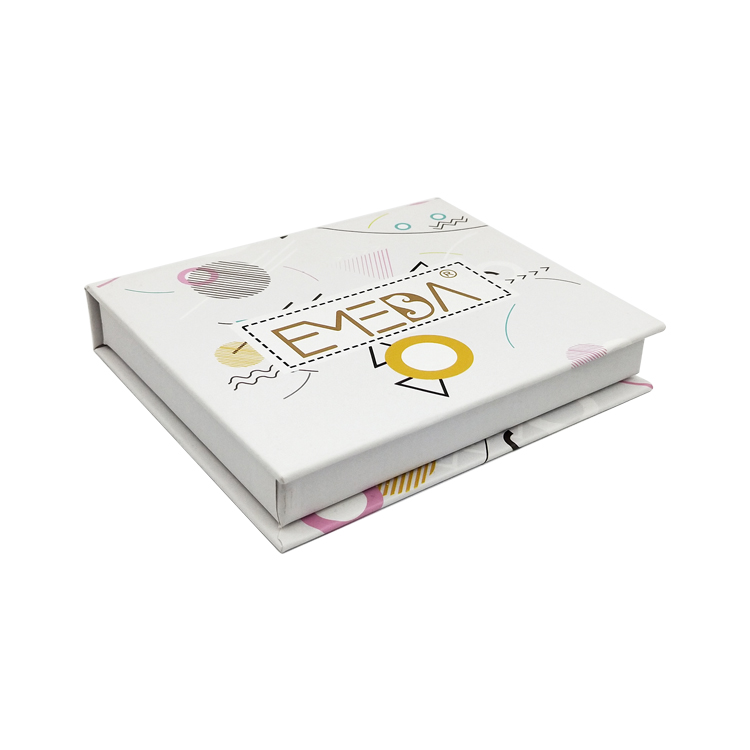
DIY lash cluster lashes kit with lash bond and seal
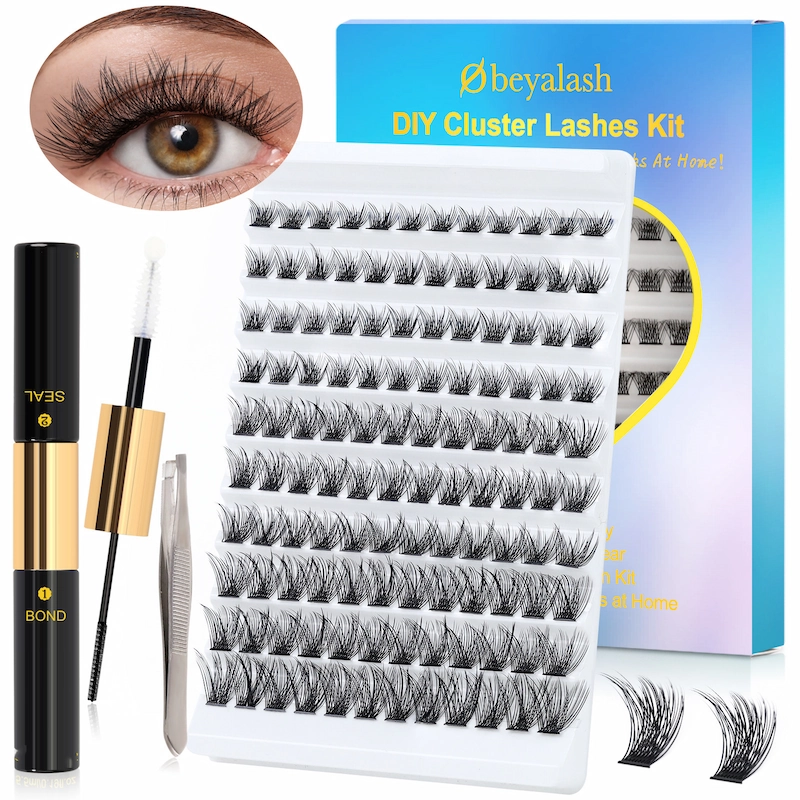
OBEYA introduce DIY lash cluster lashes kit with lash bond and seal, you can do DIY lash at home.
Achieving lush and voluminous lashes has never been easier, thanks to these convenient kits that bring the salon experience to the comfort of your home. In this article, we will explore the world of DIY lash kits, detailing the benefits, components, and step-by-step instructions to help you achieve a flawless lash look.
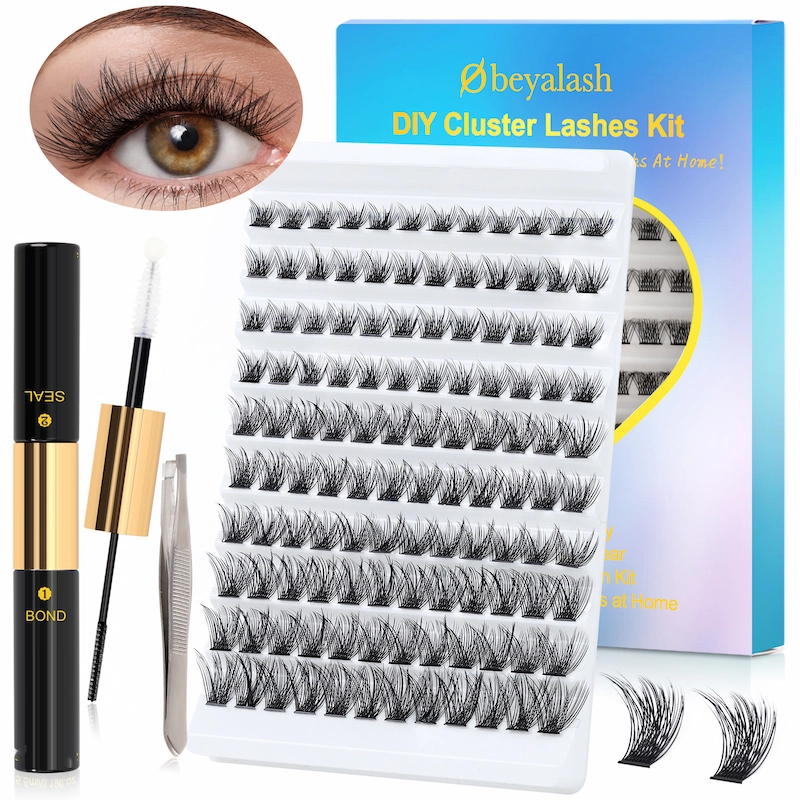
Components of a DIY Lash Kit:
Usually a DIY lash kit include the below:
Lashes: The star of the show, the kit includes a variety of lash styles, ranging from natural to bold. Choose a style that complements your eye shape and desired look.
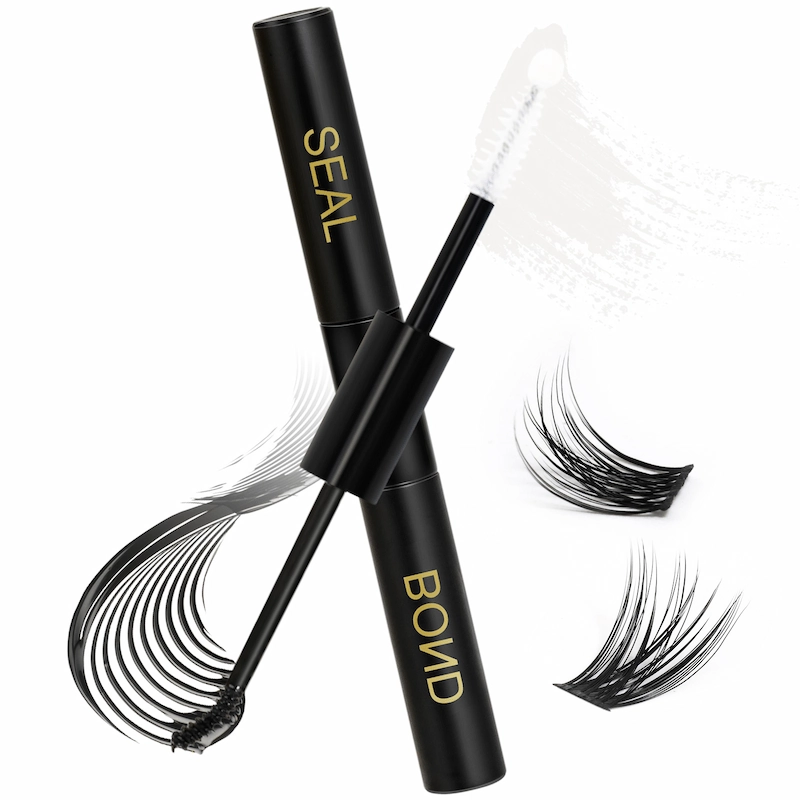
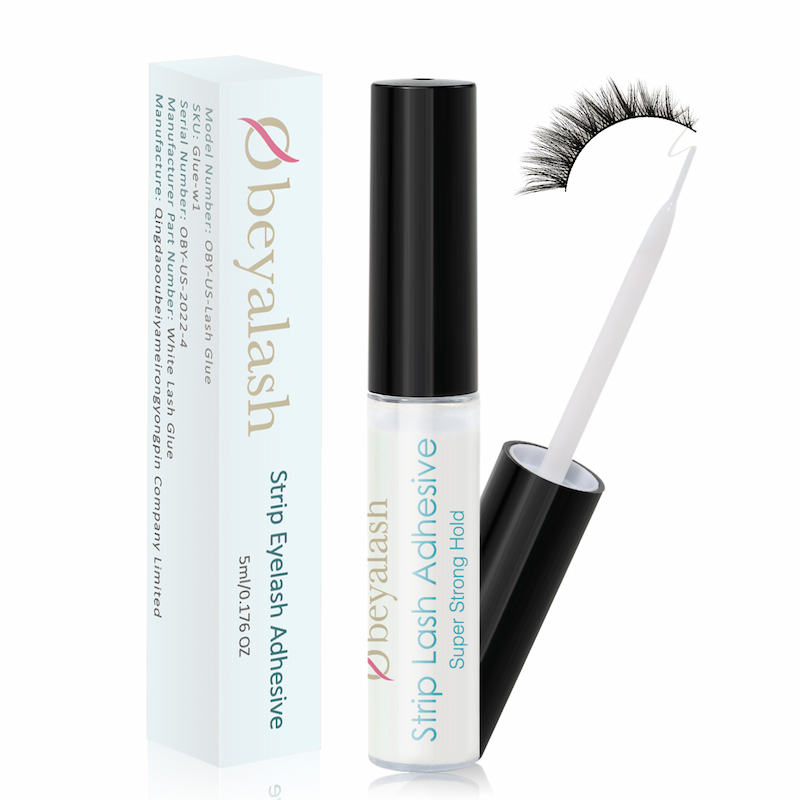
Adhesive: High-quality lash adhesive is a crucial component of any DIY lash kit. Look for a glue that is long-lasting, latex-free, and dries clear to ensure a seamless application.
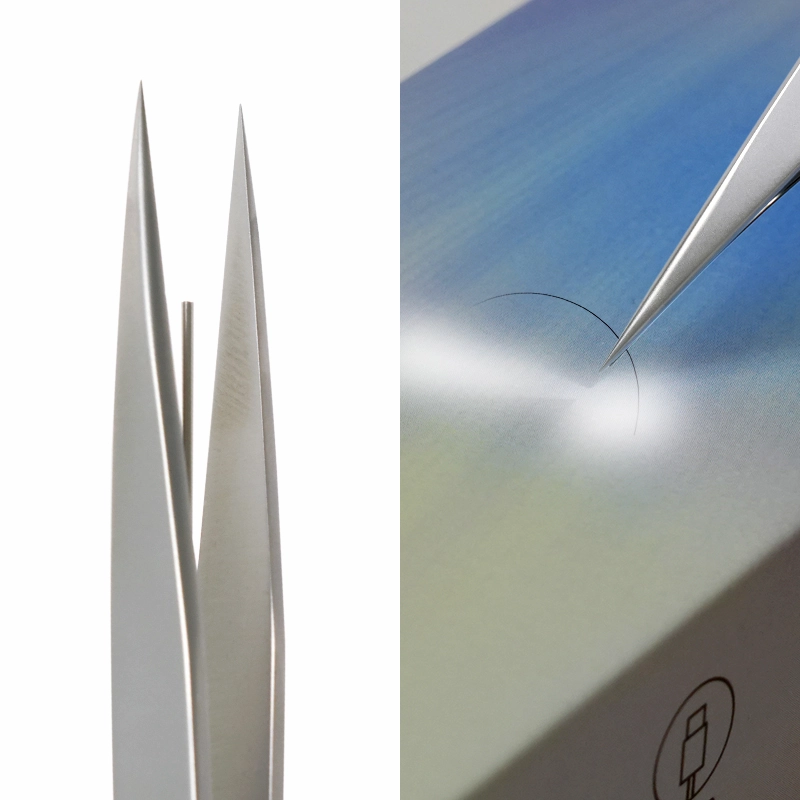
Applicator: Many kits come with a specialized applicator tool to make the lash application process easier. This tool helps with precision and reduces the chances of accidentally sticking the lashes to the wrong area.
Instructions: Comprehensive instructions are usually included in the kit to guide you through the application process. Following these step-by-step guidelines ensures a smooth and successful application.
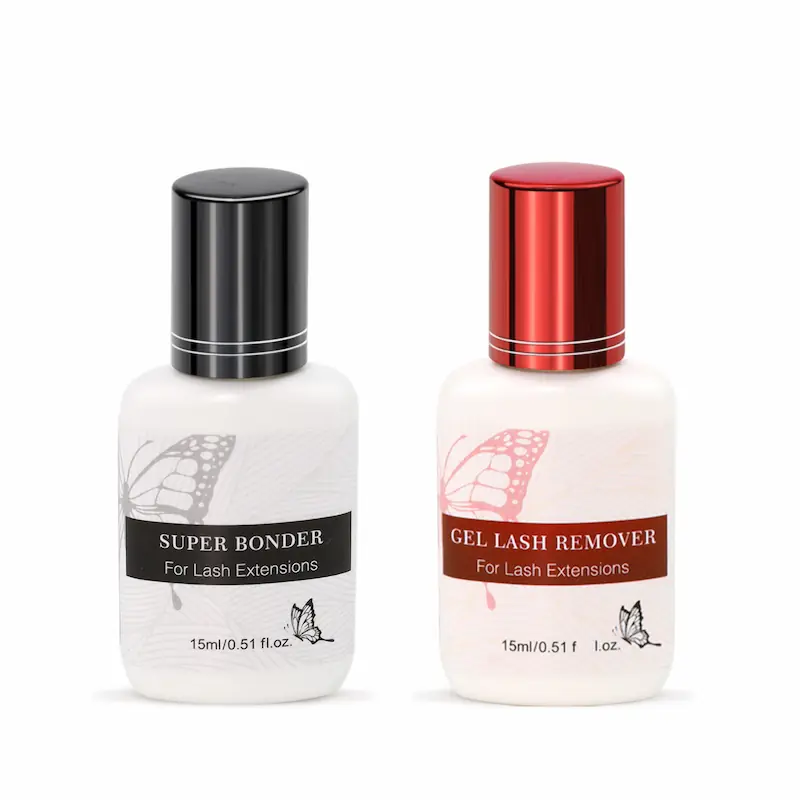
Remover: Some kits include a gentle lash remover for easy and painless removal. This ensures that you can enjoy your lash extensions temporarily without causing damage to your natural lashes.
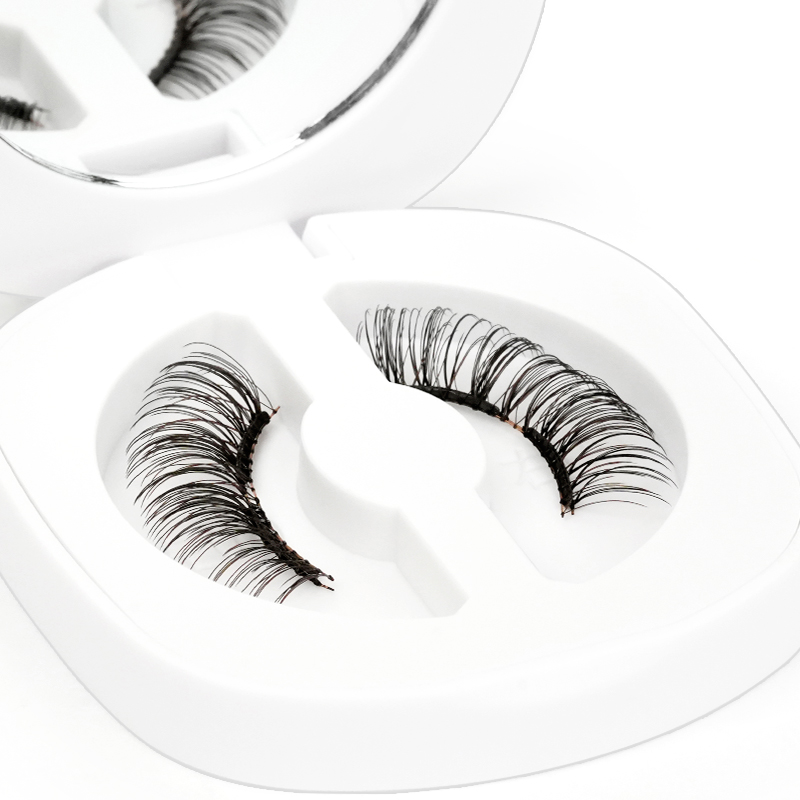
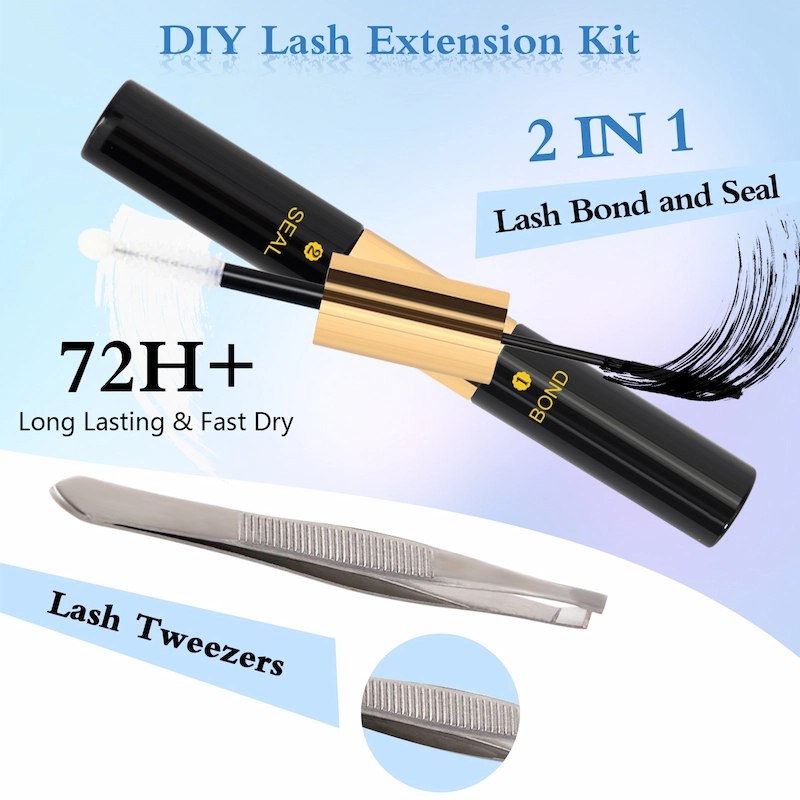
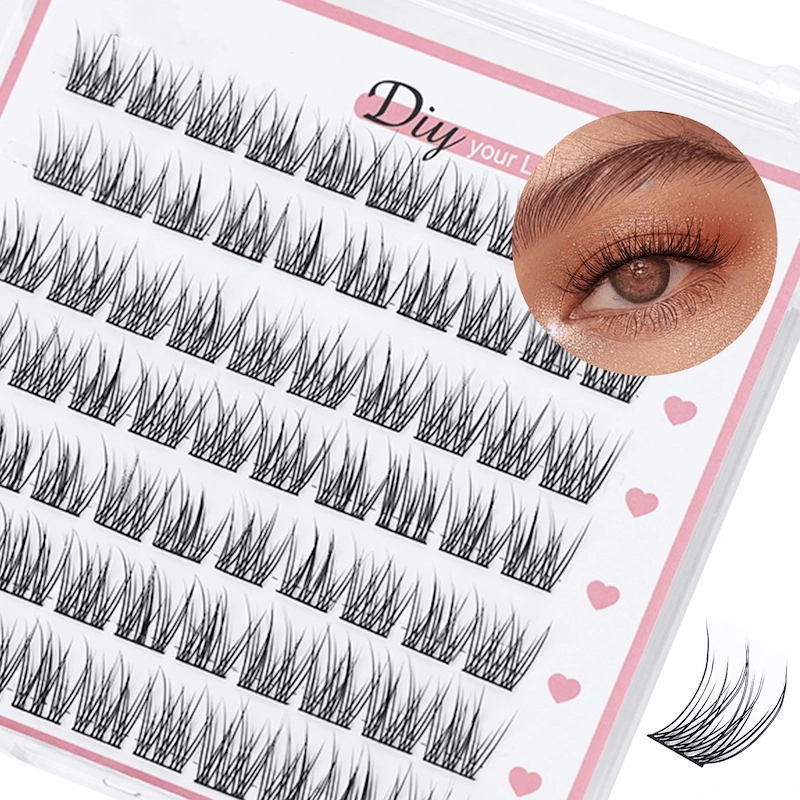
You see this OBEYA DIY lash kit, actually we do a small kit include cluster lashes, lash bond+seal, tweezers. These are the basic products in the kit which you can bring it with you when you go out.
OBEYA DIY lash cluster lashes Kit Advantage:
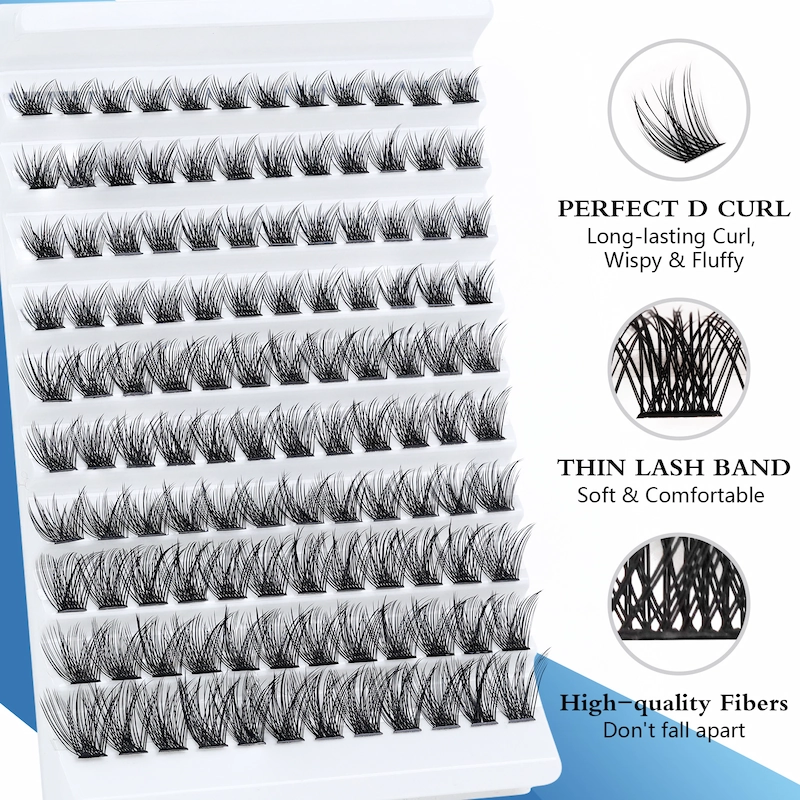
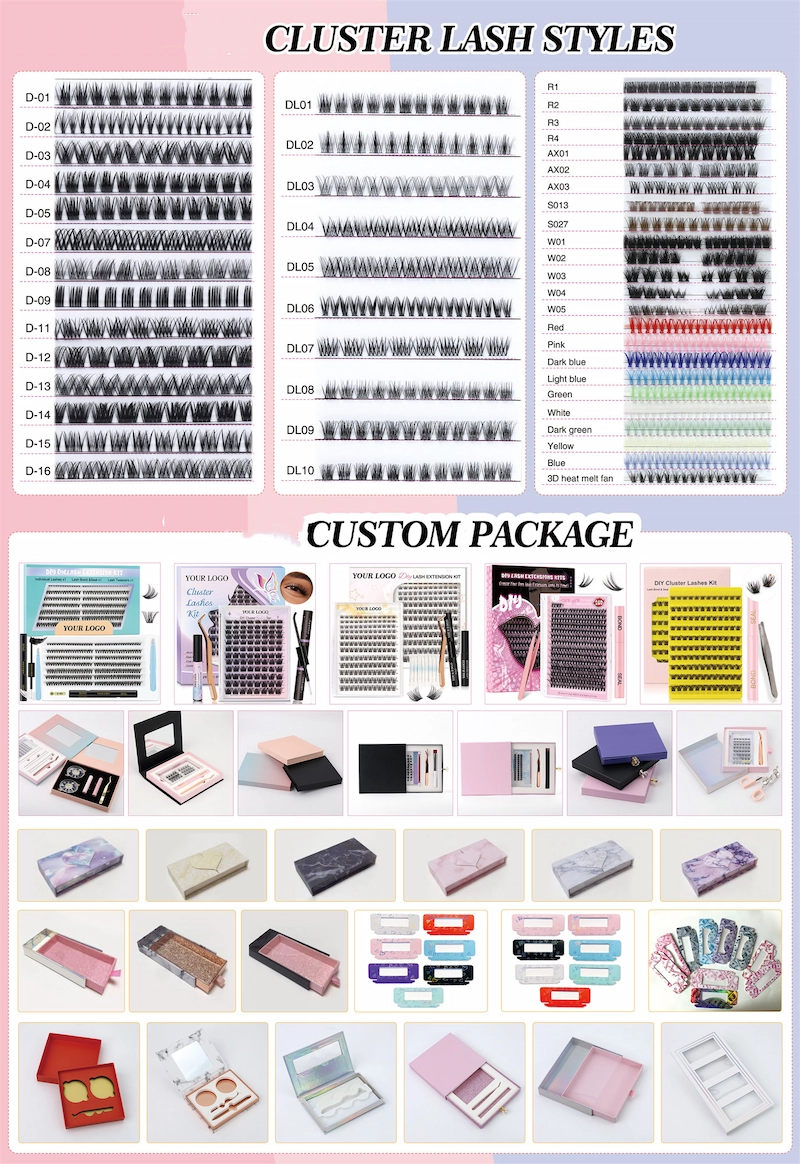
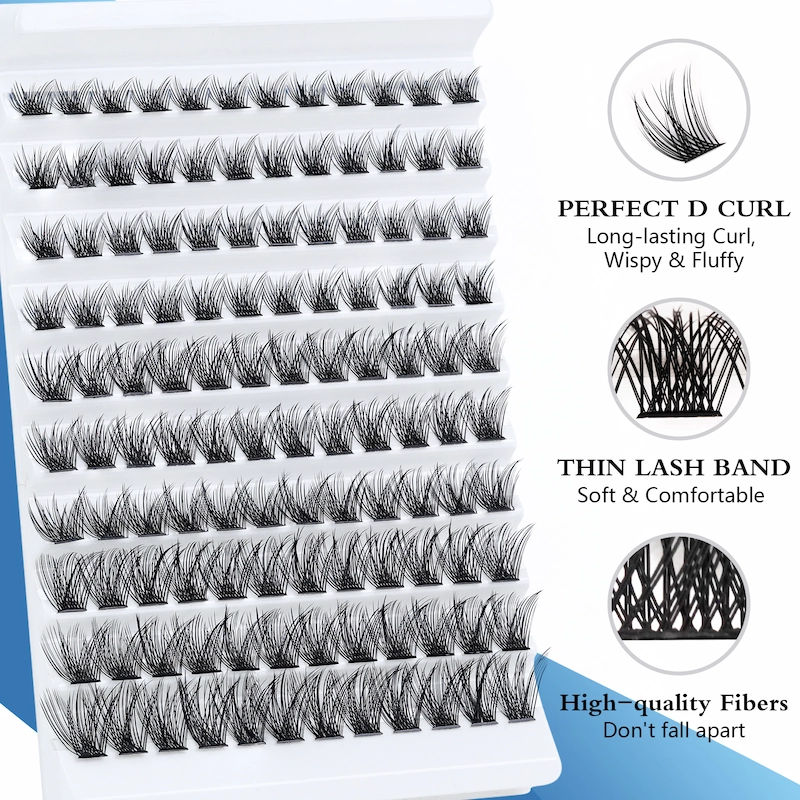
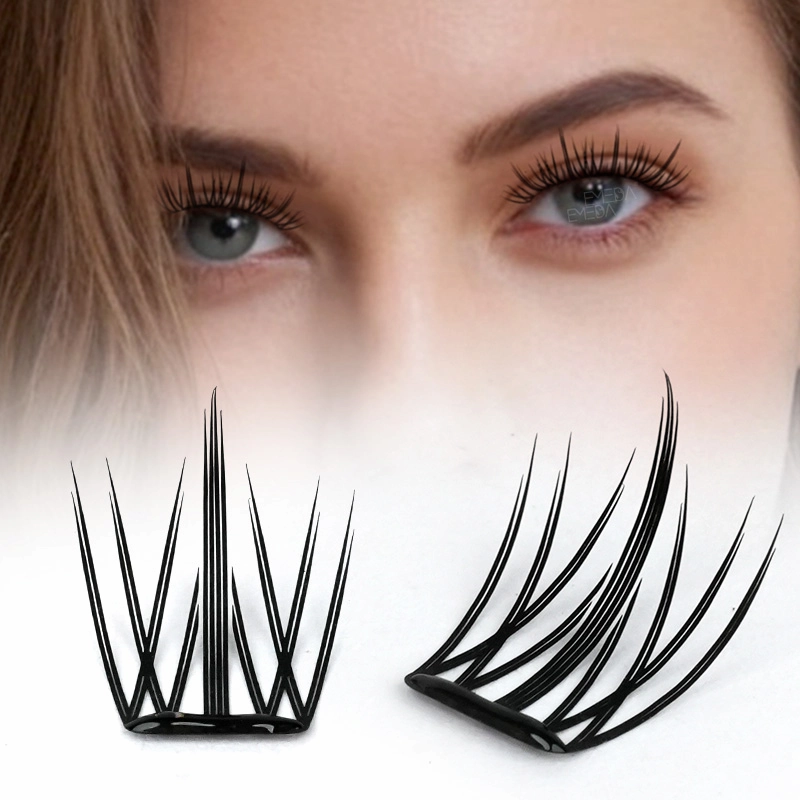
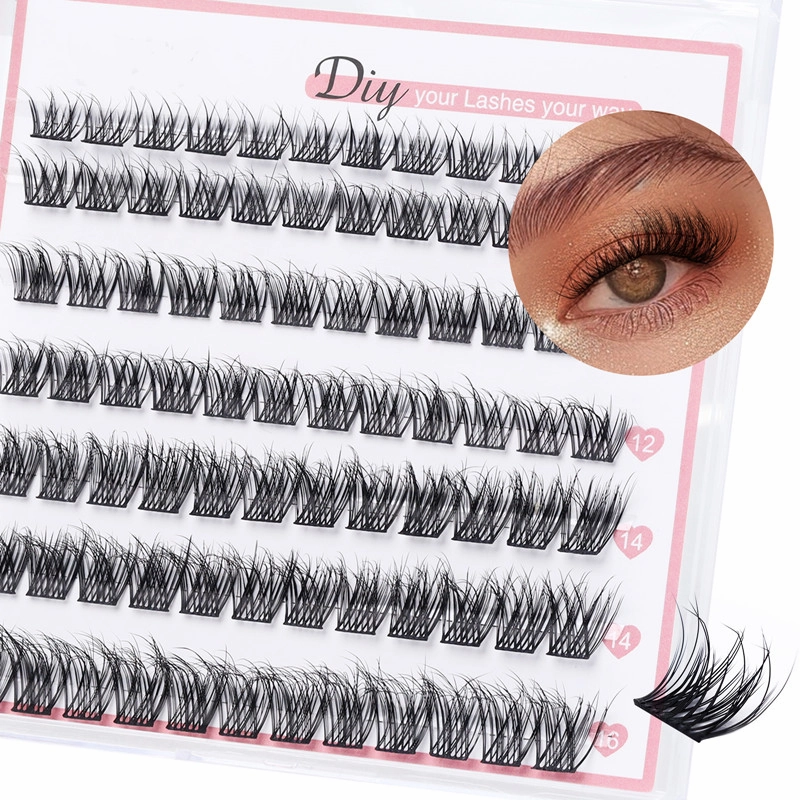
You see OBEYA cluster lashes with long lasting curl, this is a fluffy style. We have many styles for you select.
And the band are soft and comfortable which not hurt eyelid. We have full experice doing lashes, so the hair not drop when you use.
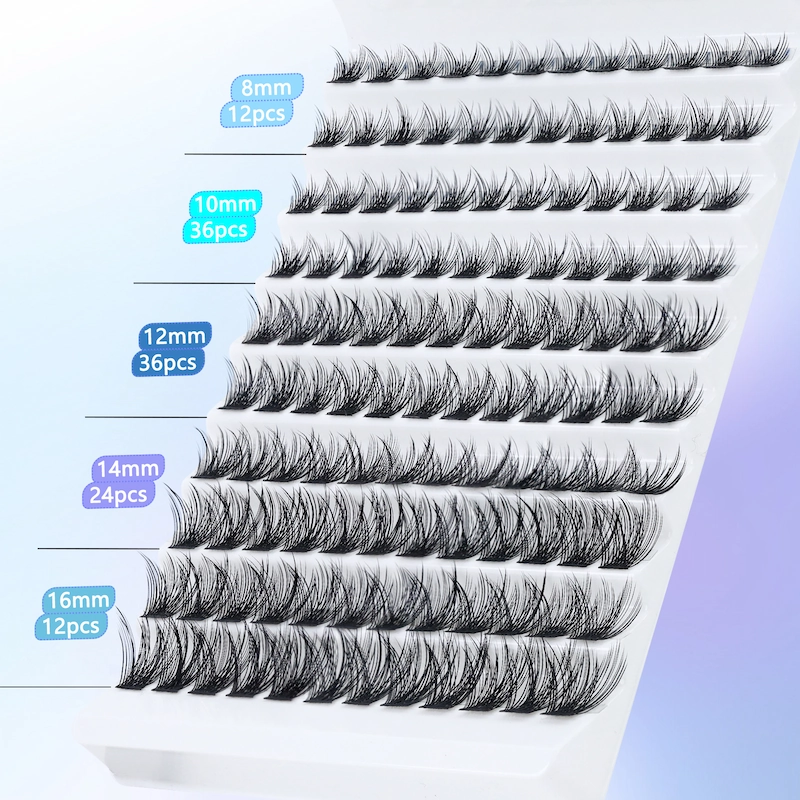
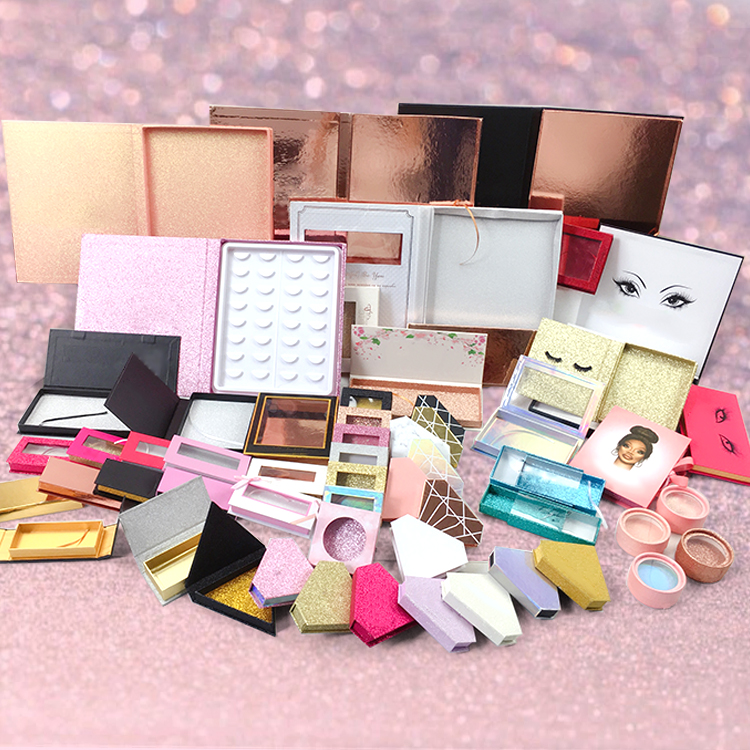
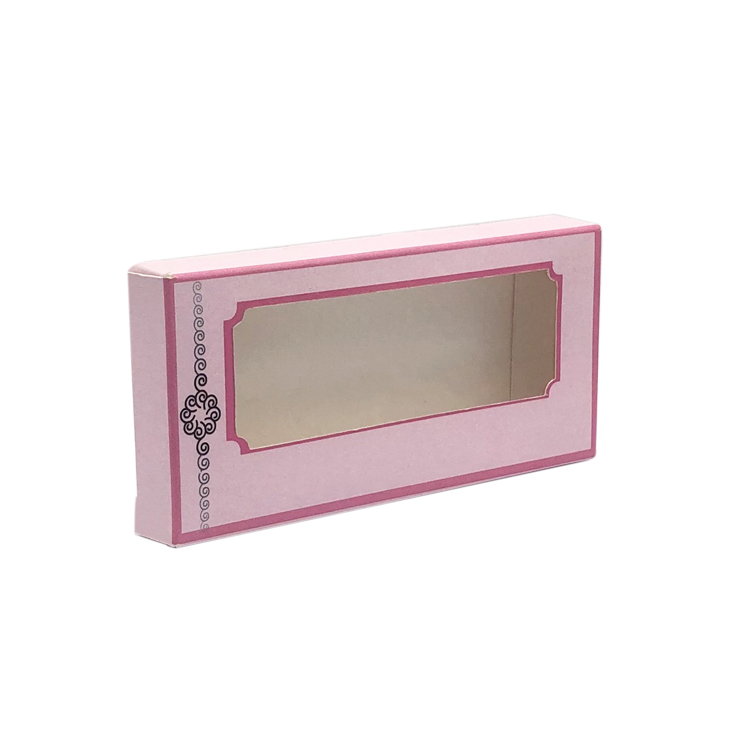
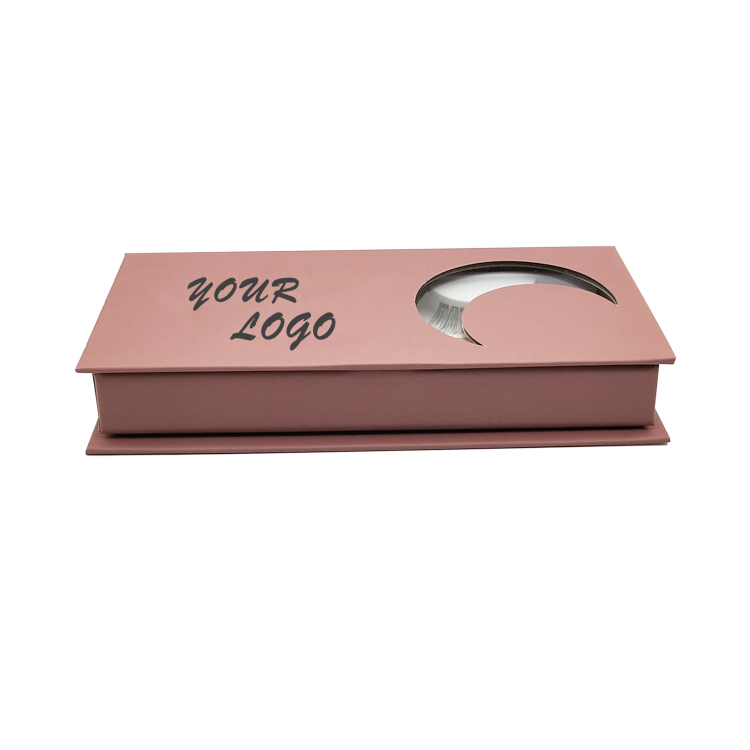
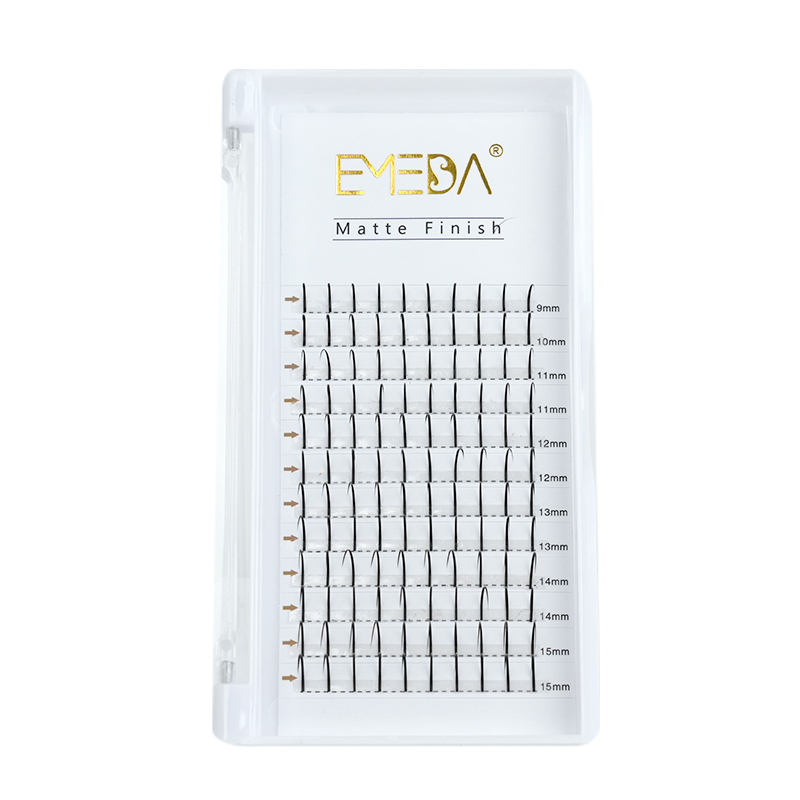
We also can do customize, for example, we can arrange the lengths in a tray. And we can do private label, do customized paper box with your logo.
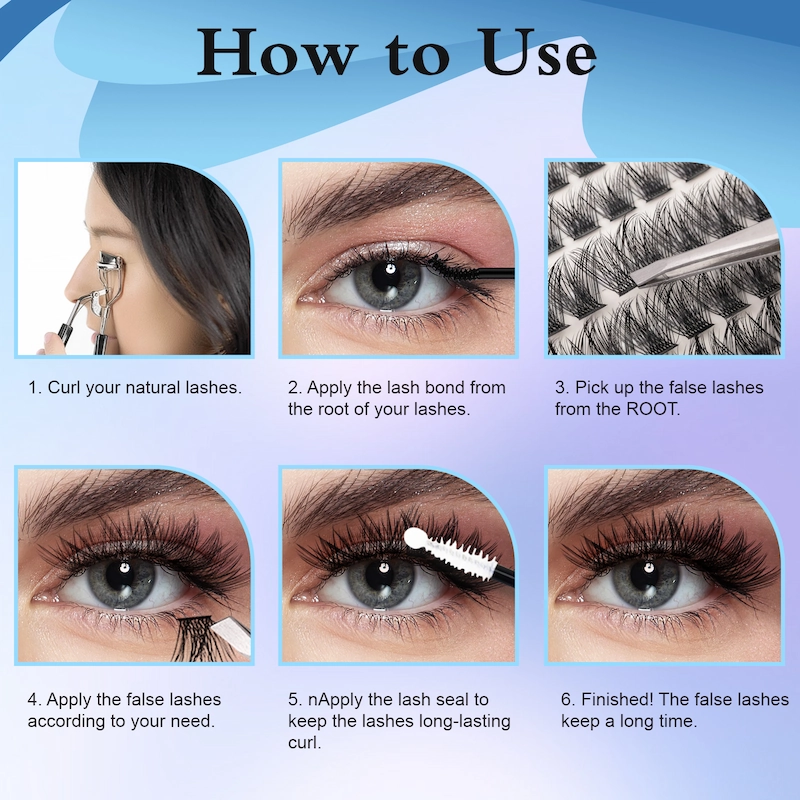
How to use DIY lash kit:
Step-by-Step Guide to Applying DIY Lashes:
Prepare Your Natural Lashes:
Begin by thoroughly cleaning your natural lashes to remove any makeup or oils. This ensures better adhesion of the false lashes.
Select the Lashes:
Choose the desired lashes from the kit, considering the occasion and your personal style preferences.
Trim if Necessary:
If the lashes are longer than your natural lash line, trim them to fit your eyes perfectly. This step ensures a natural and comfortable fit.
Apply Adhesive:
Using the applicator or a small brush, apply a thin, even layer of lash adhesive to the base of the false lashes.
Wait for Adhesive to Get Tacky:
Allow the adhesive to become slightly tacky for about 30 seconds. This step ensures better adhesion and prevents the lashes from sliding around during application.
Place and Secure:
Using the applicator, carefully place the false lashes on your natural lash line, starting from the center and working towards the outer and inner corners. Gently press down to secure the lashes in place.
Adjust as Needed:
Make any necessary adjustments to ensure that the lashes sit comfortably and look natural. Use the applicator to press down on the edges for a seamless blend.
DIY lash kit advantages:
Cost-Effective: One of the primary advantages of using a DIY lash kit is the cost savings compared to regular salon appointments. Purchasing a lash kit allows you to enjoy beautiful lashes without breaking the bank.
Customization: DIY lash kits come with various lash styles, lengths, and thickness options, allowing you to customize your look according to your preferences. Whether you prefer a natural or dramatic appearance, there's a lash style for every occasion.
Convenience: With a DIY lash kit, you have the flexibility to apply lashes at your convenience. No need to book appointments or wait for salon openings – achieve stunning lashes whenever suits you.
CONTACT ME for more details.
Monica:
Whatsapp: +86 185 6261 5183
You may also like
Wholesale popular silk faux mink vegan eyelashes with logo XJ92
wholesale Hot Mink lashes with custom lash package in US XJ83
Private label 3D faux mink natural Half lashes small corner eyelash XJ82
Latex free Korean Strip eyelash glue XJ78
FAQ:
1. What is a DIY lash kit?
A DIY lash kit is a comprehensive set that typically includes everything you need to apply and maintain your own lash extensions at home. It typically includes lash extensions, adhesive, tweezers, and sometimes additional tools or instructions.
How do DIY lash kits compare to salon lash extensions?
DIY lash kits offer a cost-effective and convenient alternative to salon lash extensions. They provide the flexibility to apply lash extensions at home, allowing you to customize your look and save money on salon appointments.
2. Are DIY lash kits safe to use?
Yes, DIY lash kits are generally safe to use when used according to the instructions provided. It's essential to follow proper application techniques and use high-quality, latex-free adhesive to minimize the risk of irritation or allergic reactions.
How long do DIY lash extensions last?
The longevity of DIY lash extensions can vary depending on factors such as the quality of the adhesive used, your natural lash growth cycle, and how well you maintain them. With proper care and maintenance, DIY lash extensions can last anywhere from two to six weeks before needing a touch-up.
3.Can I reuse DIY lash extensions?
Yes, many DIY lash extensions can be reused multiple times with proper care and maintenance. It's essential to remove any adhesive residue and clean the lashes gently after each use to prolong their lifespan.
How do I choose the right DIY lash kit for me?
When choosing a DIY lash kit, consider factors such as your desired lash style, the quality of the lash extensions and adhesive, and any additional tools or instructions included in the kit. Look for kits that offer a variety of lash styles and lengths to suit your preferences.
3.Can I apply DIY lash extensions if I have sensitive eyes?
Yes, many DIY lash kits come with latex-free adhesive formulas that are gentle on sensitive eyes. However, it's essential to perform a patch test before using any new products to ensure they are suitable for your skin and eyes.
How do I remove DIY lash extensions?
DIY lash extensions can be removed using a gentle lash extension remover or oil-based makeup remover. It's essential to be gentle and avoid pulling or tugging on the lashes to prevent damage to your natural lashes.
4.Can I wear mascara with DIY lash extensions?
It's generally not recommended to wear mascara with DIY lash extensions, as it can cause clumping and premature shedding of the extensions. However, if you prefer a more dramatic look, you can use a water-based mascara on the tips of your natural lashes, avoiding the lash extensions themselves.
5. Are DIY lash kits suitable for beginners?
Yes, DIY lash kits are suitable for beginners with proper instruction and practice. Many kits come with detailed instructions or access to online tutorials to guide you through the application process step by step. With patience and practice, anyone can achieve beautiful results with a DIY lash kit.
489.webp)
708.webp)
774.webp)
